How to create a project in Trello
Keeping track of everything you need to get done can be a real chore. This makes it harder to stay on top of things and hit our goals. Trello solves that by offering a web-based platform allowing users to organise tasks into lists and cards showing project timelines.
Endless configuration options are available, such as:
- Lists
- Cards
- Checklists
- Deadlines
This makes Trello an extremely versatile tool. In this blog post, we'll take you through how to make a project.

Creating a board
To maximise the potential of Trello, you'll want to start with a new board and customise it to suit your needs.
This will give you the freedom to design the board however you like and to fit the needs of your project.

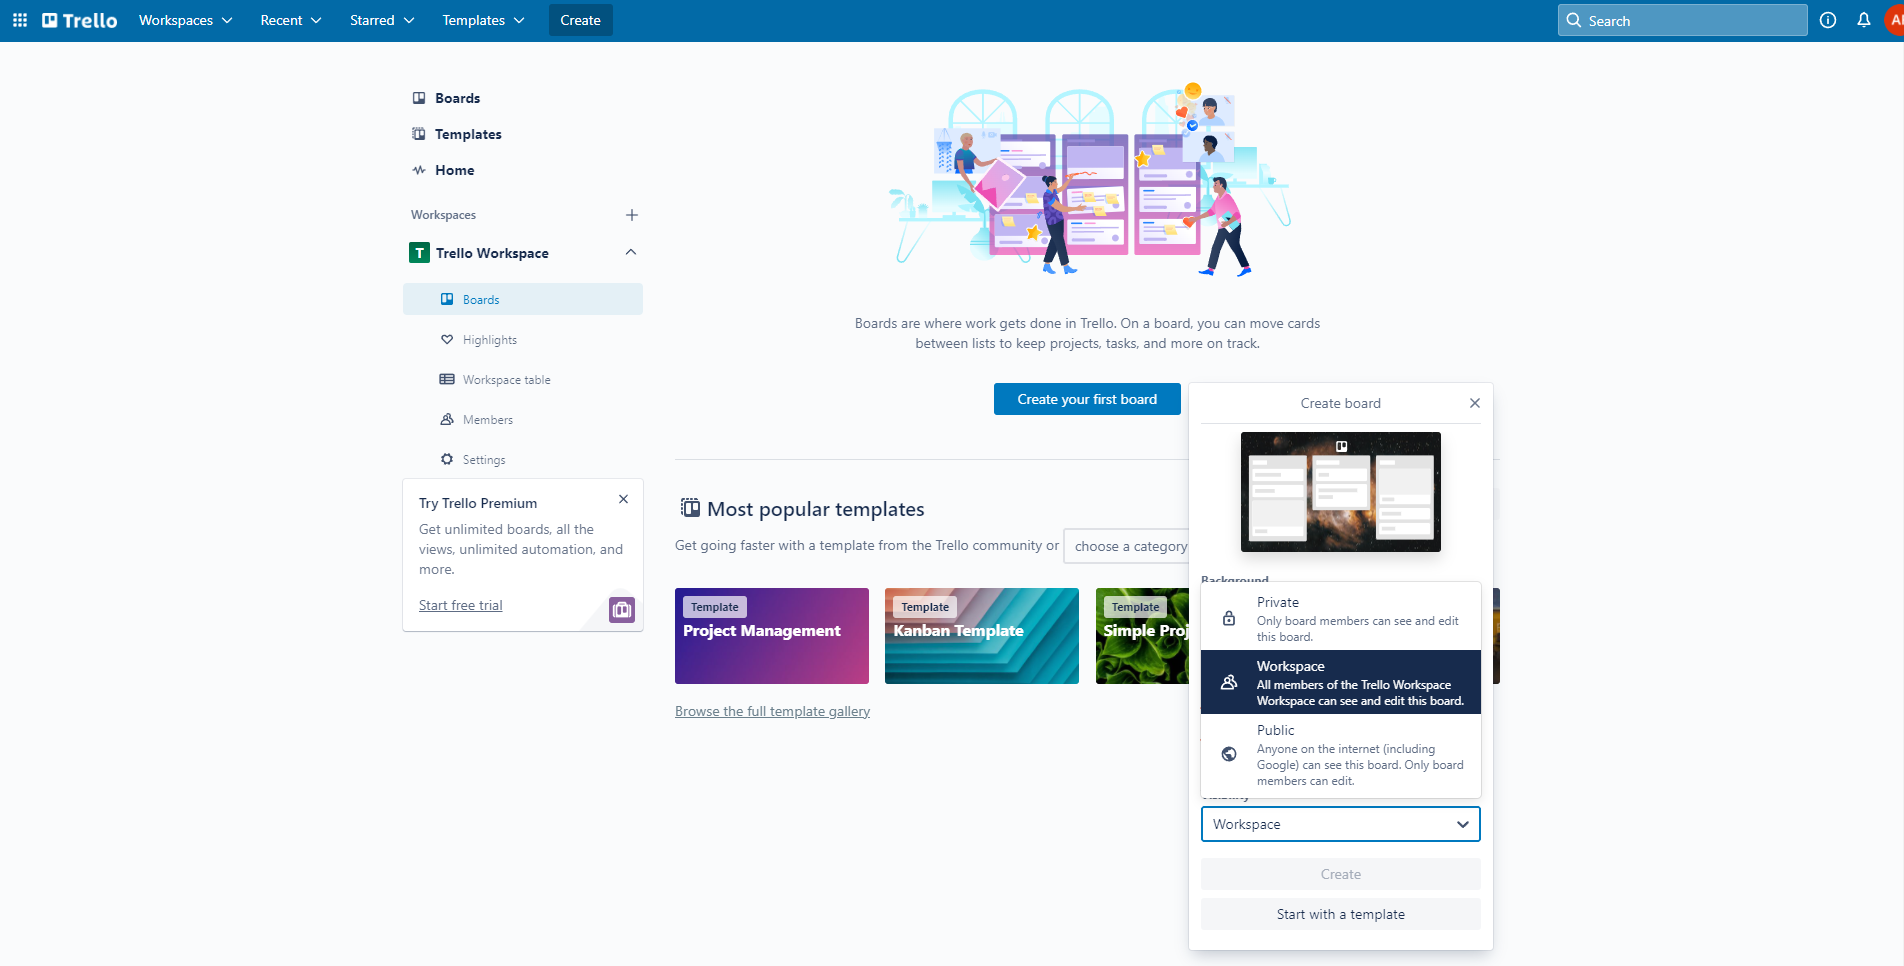
On the Trello homepage, click the 'create new board' button in the centre of the screen. Once done, a menu will appear asking you to input some details. Make sure they're relevant to your project so you can easily find it again.
Other settings are available in this menu, like board visibility. It's usually set to public so that anyone can view the board using a link.
Customising your board
From the same popup menu mentioned above, you can select from various themes that are built into Trello. Trello also offers the option for users to upload their own saved images to be used as the board background theme if they wish to.
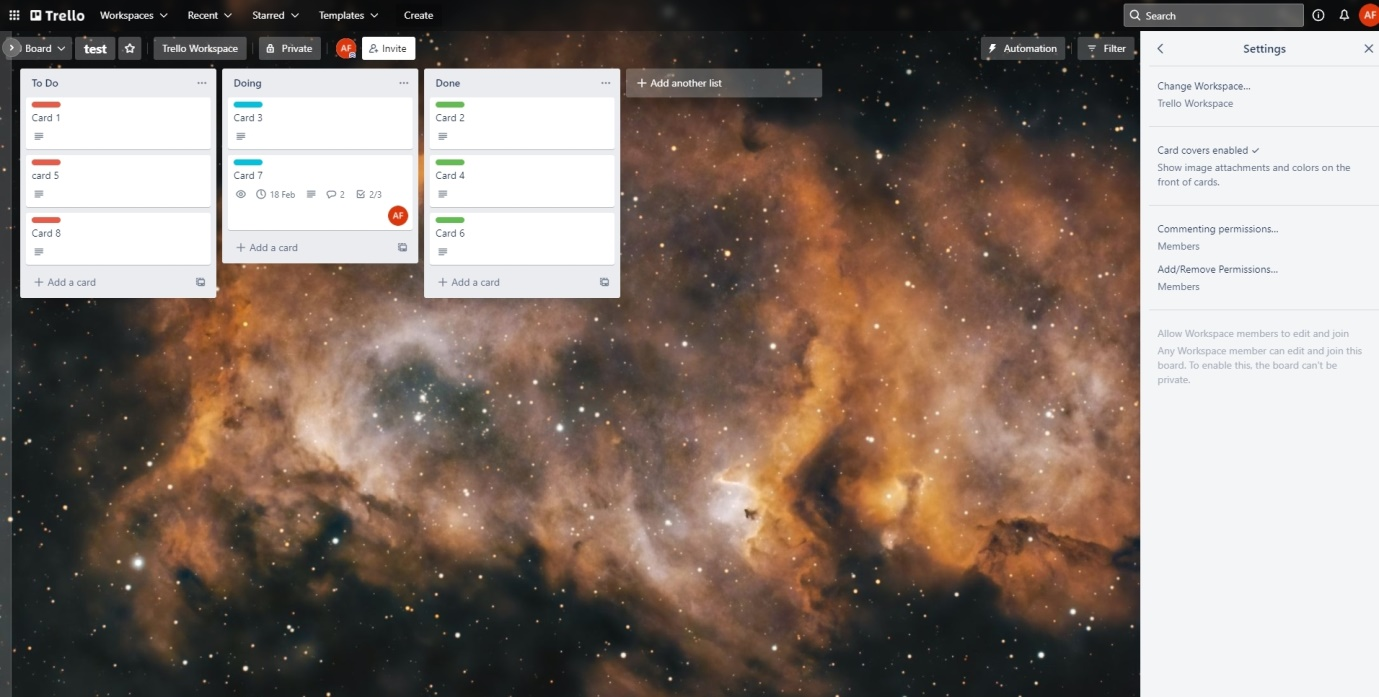
When customising your board background, if you wish to change it after you confirm the settings and create your board, the same settings to change the image used can be accessed from the board menu at the right-hand side.
Inviting board members
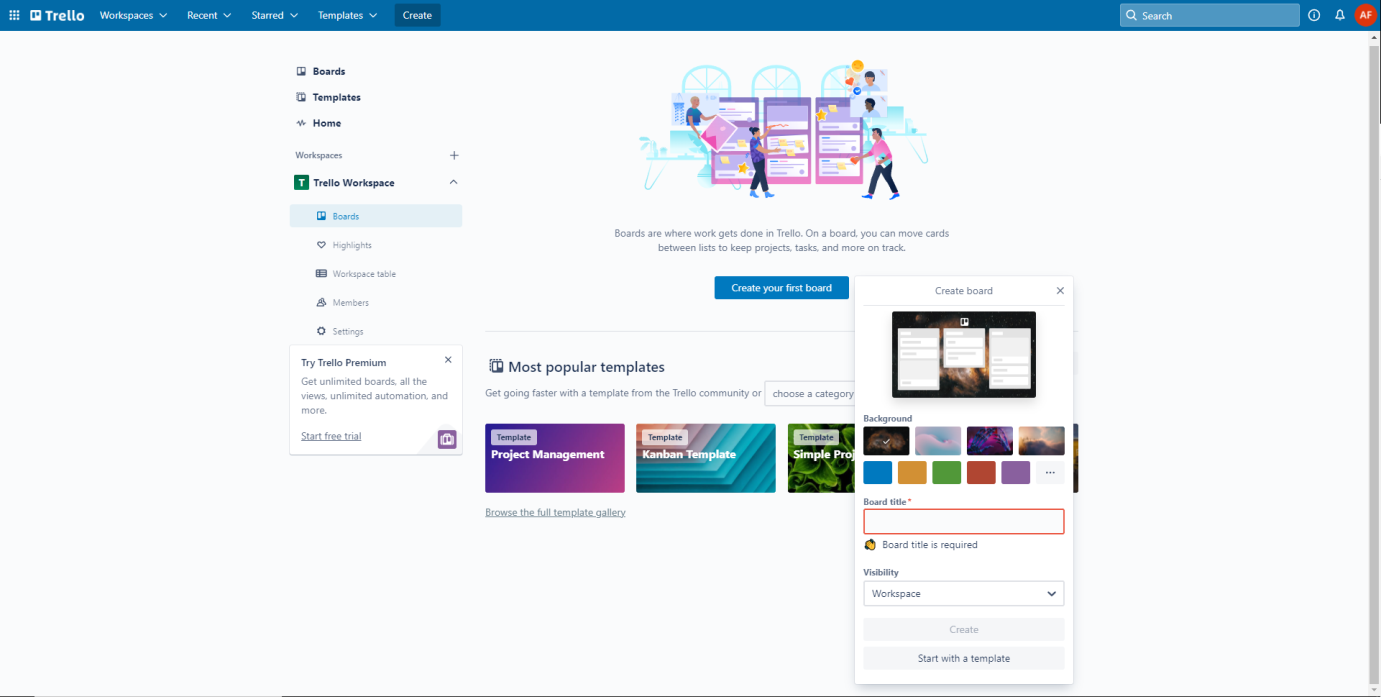
Once your board is setup and ready for your project to begin work with others, you can invite them using the invite button at the top of the page. This opens a popup menu where you can choose from the following methods to invite new board members to invite them to join your board.
-
Click Generate Invite Link to receive a sharable link you can send via email.
-
Generate a scannable QR code allowing users to join your board when they scan it.
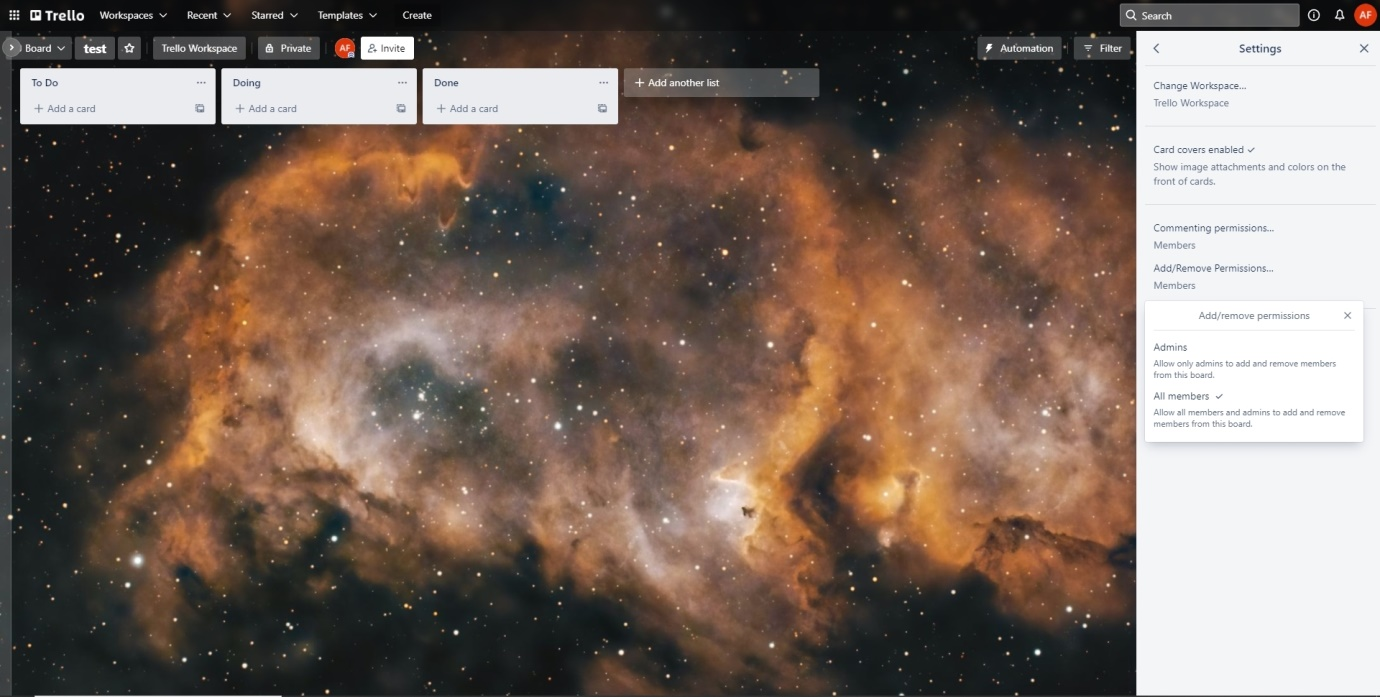
Once your members have joined the board, you can define different member permission levels for each person. The three main levels are:
- Normal: able to view and edit cards, may be able to edit certain board permissions depending on overall board settings.
- Admin: able to view and edit cards, remove members from the board and have full control over all board settings.
- Observer: Viewing access only, can comment and react to cards but not edit the content within them. The level of access can be controlled in the board settings.
Build a workflow
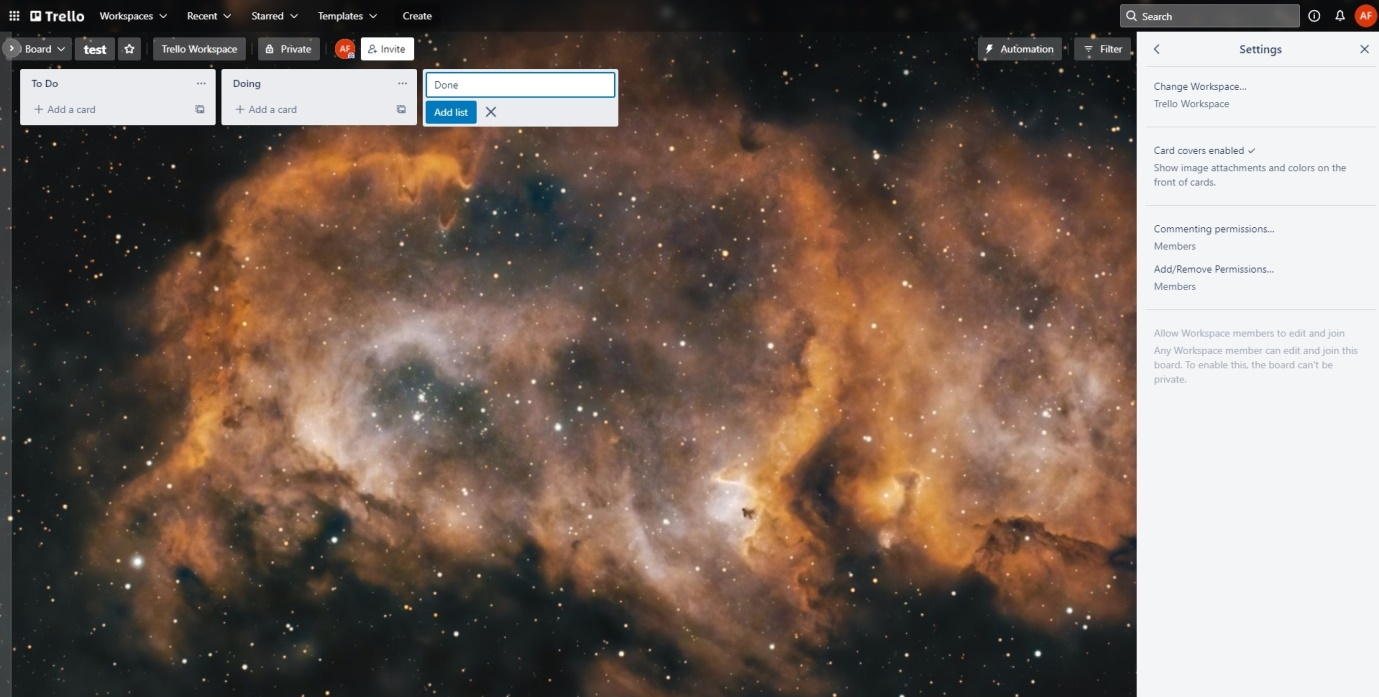
To organise your project, you should first add a series of lists. You can do this by clicking anywhere in the Trello window. A new list will appear which can be renamed. Click done and you now have a list. a new list will appear which can be renamed, click done and you now have a list. This can be dragged and placed anywhere on the board. You can add as many or as few as required and give your lists a relevant name.
Adding cards and tasks
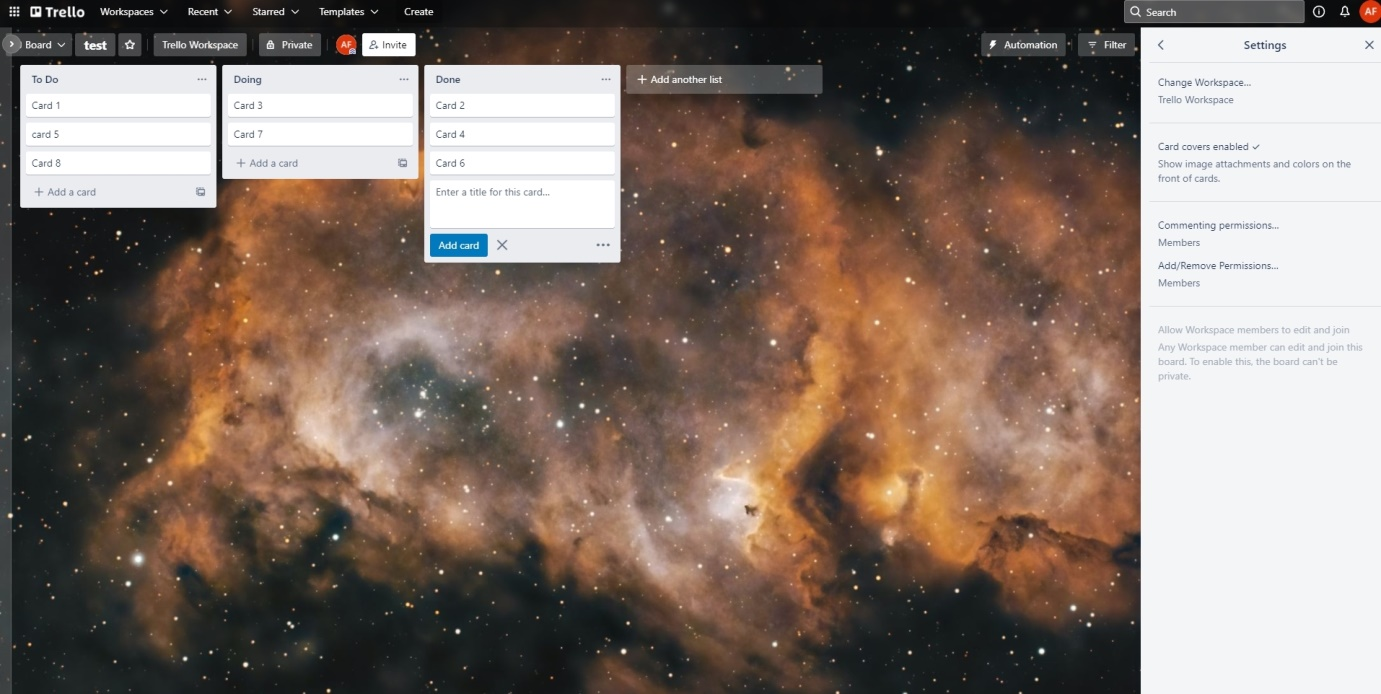
Cards are what hold the important information for each task within your project. At the bottom of each list you have made is a add card button, clicking this adds a new card with an option to name it and give it a description of what the task is. To make it easier to organise tasks there are several things that can be added to cards to keep on track of work:
- Descriptions – More information about the task
- Due dates – deadline for when it should be completed, is colour coded to show if before deadline, on deadline or passed deadline
- Members – Show who is assigned to this task
- Checklists – Items required to complete the task and tick off those that are completed with a progress bar
- Attachments – Attach external documents and files
- Comments – Comments from other Board users
The above card features are accessed by opening the expanded card by clicking on a specific card to view more about it. From here you can add and view all of these additional available options.

Board activity is a constant timeline shown on the right hand side of the board giving updates on any changes made within the board to any cards, lists or the board its self so that any user can quickly see any of the latest changes.